


Customizing The Platform For Your Unique Product
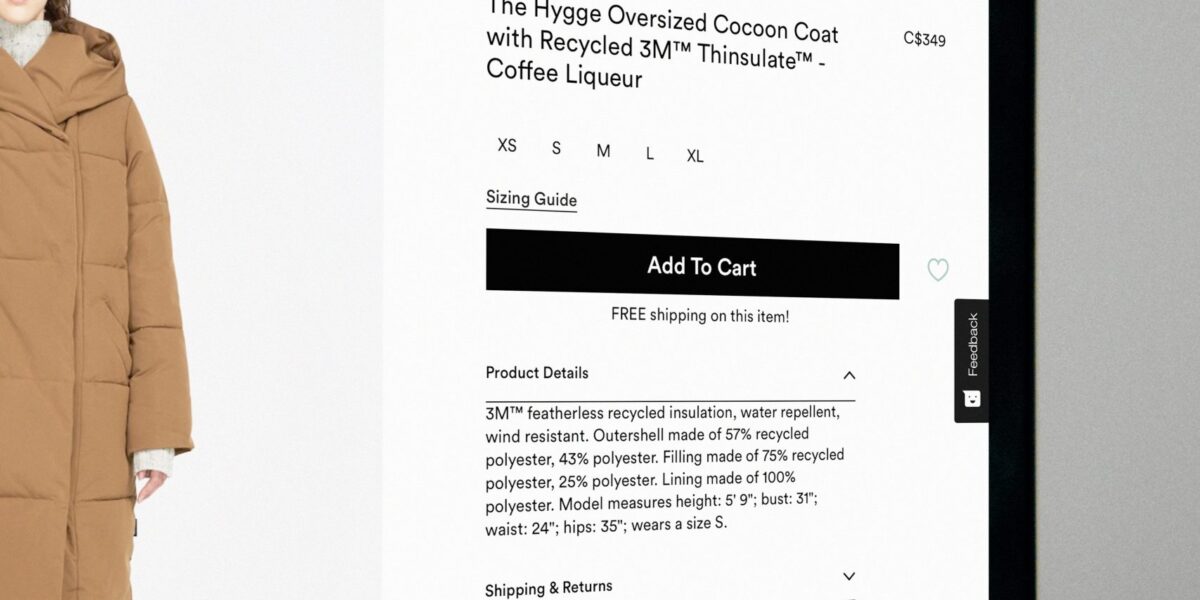
Shopify is great at a lot of things. Creating collections and adding products is a breeze, but what happens when you want to add more information to a product than just its description? Maybe you need unique specifications for the furniture you’re selling or a checkbox to differentiate products within the same collection. Unfortunately, Shopify doesn’t provide an interface to define metafields straight out of the box. Luckily for us, all is not lost. Because the answer to this problem doesn’t come in the form of a Shopify app, but two nifty Chrome plugins called ‘Custom Fields for Shopify’ and ‘ShopifyFD.’
Setting Up:
While it may seem weird to rely on a third-party non-Shopify extension for your store (and it definitely is), ‘Custom Fields for Shopify’ and ‘ShopifyFD’ provide most of the functionality you’d expect from something proprietary. To begin, start up your Chrome browser and head on over to the Chrome Web Store and search for ‘ShopifyFD.’ Make sure you choose the ones offered by Freak Design and add both ‘Custom Fields for Shopify’ and ‘ShopifyFD’ to your Chrome dashboard.
Now, you should have two new icons on the top right of your browser. One looks like a pink floppy disk and the other a green cross. These are our new custom field shamans ready to guide us up to Mount Metafields. And, unlike actually climbing a mountain, the going from here is pretty easy. Go to your Shopify admin like you normally would and simply click on both of the icons. Each will prompt a message saying its loaded and you should notice two new tabs under Apps in the menu on the left. You’ll have to do this whenever you need to update, create, or add any new metafields. But, that’s it! You now have the tools to add custom fields to Shopify.
Creating Metafields:
One thing you may be wondering by now is, why do we need two plugins? And no it’s not just to make things more confusing. ‘ShopifyFD’ is used for creating the actual fields you’ll use on your products/collections, while ‘Custom Fields for Shopify’ provides an interface for adding unique information to those fields. If you have a developer setting up your project, they will most likely set up the metafields so you can skip this section, if not let’s take ‘ShopifyFD’ for a drive.
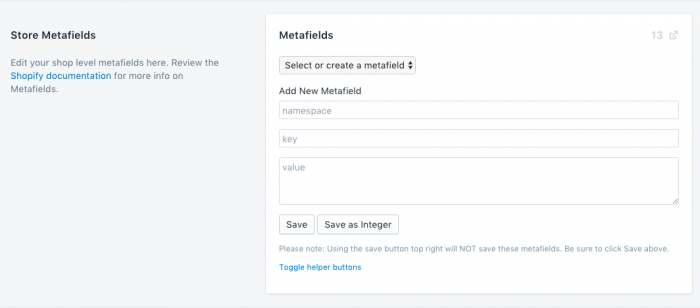
In the Shopify admin, click on Settings at the very bottom of the left menu, and then go to General on the new page. Here you should see a few sections starting with ‘Store details,’ underneath that if you have ‘ShopifyFD’ loaded you should see a section called ‘Store Metafields’ (if you don’t click on the green cross icon in your Chrome toolbar). Here you’ll see a select menu and three inputs on the right under Metafields. The select dropdown will be empty if you haven’t created any metafields, so just leave it on the default ‘Select or create a metafield’ to create a new one.
If you’re not familiar with coding at all this next part is going to be a little overwhelming, and for the sake of brevity, I’m not going to explain every programming concept or term introduced. It might be best to get some outside help if you feel truly lost.
Now let’s break down the three inputs we see;
Namespace: This can be anything you want and is a way to keep metafields from clashing with each other. Keep it something simple but specific like ‘c_f’ or ‘my_field.’ This can be the same for each field you create.
Key: The key is what the field will be called, so again keep it simple but specific. If you’re adding a URL to a video for your product, you could name it ‘video_url’ or even better ‘product_video_url.’ It’s important to never use spaces and stick to snake_case (with_underscores_instead_of_spaces) or camelCase (withEachNewWordCapitalized) the same goes for the namespace input.
Value: Value is mainly a description of what information the field should hold. Like for our ‘video_url’ example you could write, ‘Put the link for the video here.’ It’s also used to limit where the field will show up, should only products have this field? Or maybe only collections? Before your description, you would put ‘[p]’ for products or ‘[c]’ for collections, this would cause the field to only show on the product or collection page respectively. All together it would look something like this ‘[p]URL for product video.’
When you’re done, make sure you click on the save directly below the value input and not the save button in the top right corner.
For a more thorough overview of adding metafields check out this guide made by the developer. At the bottom of the pdf, you’ll see an example of getting the metafield information in Liquid as well.
Using Metafields:
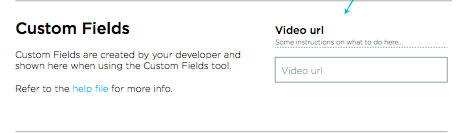
So you, or your developer, has created metafields and now we need to enter the actual data. Luckily for us, adding information to our metafields is as easy as entering a product description! The process of doing this is going to be the same whether it’s for a product, collection, page or article.
Go to the desired field page where you can edit it’s title/description etc. and click on the pink floppy disk icon in your Chrome toolbar. This will load a new section called ‘Custom Fields’ directly below the description editor. Here you will see all the metafields created for the particular object and you can go ahead and start adding your information. The only thing you must remember is to click the ‘Save Custom Fields’ button in this section when you’re done, and not the usual save button up top. Otherwise, your metafields will not be saved, and you’ll have to enter the info again.
Wrapping Up:
There you have it! Shopify metafields in only a few easy steps. This might seem like a hassle at first, but after the first time, it’ll be a no-brainer.